DIY Fabric Rose Hair Piece
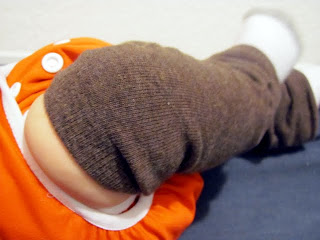
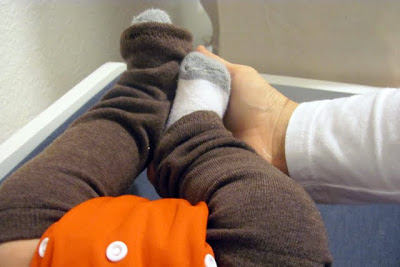
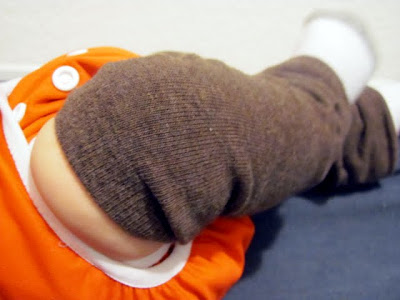
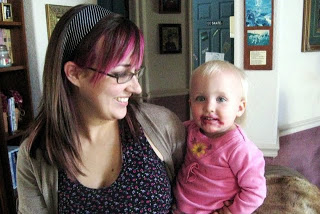
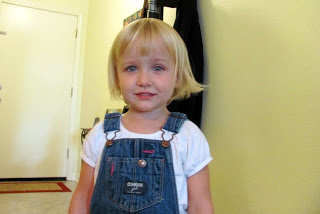
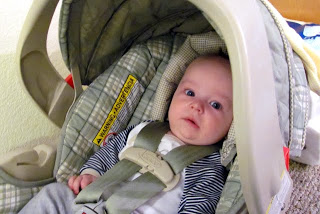
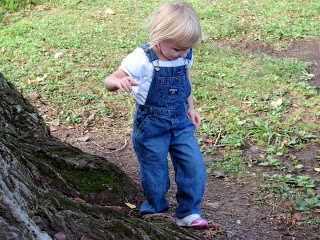
Alright, so Thanksgiving is fast approaching which means I am already behind on getting my family portraits done for the Christmas cards. What else is new?! I did go yesterday and get some pictures of the kids done at a portrait studio... ugh! So not fun. Jed just came into this world with a serious demeanor, and, while he definitely smiles and laughs, he does not do this for just anybody... and especially not if you are trying really hard. Addy is 3; pretty sure that's enough said right there, but, in case it isn't, she can only handle so many directions before she completely wigs out and your directions might as well be spoken in Swahili because she's lost her ability to understand them. Needless to say, this time I did not have the problem of "so many good pictures it's hard to pick just one;" I had the problem of "Um, which one is tolerable enough to look at in a picture frame until I get around to doing this again?" At least I really like looking at my kids faces no matter the expression on them.
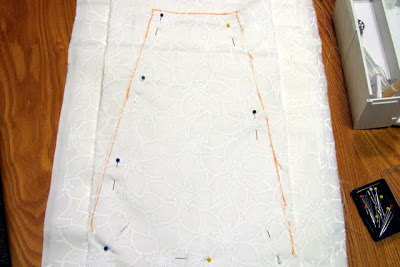
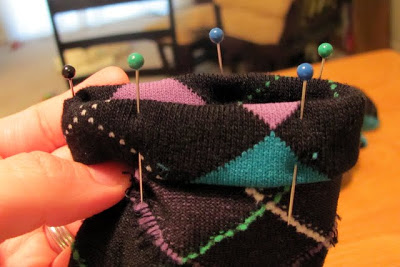
I want my kids and Mike and me to all coordinate for our family Christmas pictures, totally a "mom-thing" I suppose. So I picked up some fabric that will pick up on the varying shades of blue, green and gray in all our eyes and decided that I SHALL do something with said fabric! I made a little button down shirt for Jed that I accented with cow print from a pattern I had laying around, but stopped shy of the button holes. Not sure why, but button holes scare me. Also, I made a mistake. I am still contemplating whether or not I want to go back and seam rip and resew or figure out some way to make it work as is. Me and patterns do not play nicely together and I HATE seam-ripping and resewing. I was going to sew up a little dress for Addy in the same fabric, but I am not so good at making the underarm part and seem to need to rip out and resew everytime I made something with arm holes at least once...
Can you tell not everything is perfect in my crafting world?!
Finally, as the picture appointment got closer and the thought of family pictures is beginning to move to the forefront of my brain, the need for simplicity over took me.
I got the idea to make a hair piece for Addy and a tie for Jed. EASY! FAST! CUTE! SIMPLE! I took my professional pictures of the kids with these accessories and I like the subtle matchy-ness. I am planning on making bigger adult versions for Mike and I for our Christmas card family pictures. This makes me happy.

Fabric Rose Hair Piece:
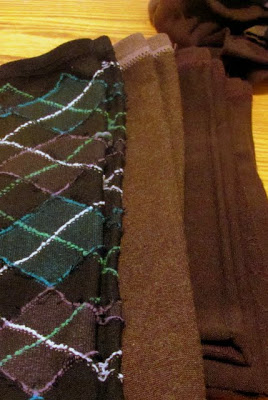
Need 2 contrasting pieces of fabric (like 2 pieces of 2.5"x6" or so for leaves and contrasting piece of 2.5" by 18+" for rose)
Fabric Glue
Hot Glue
Scrap piece of felt (2" by 2")
Hair Clip
Piece of 3/8 ribbon (about 6")
Optional: Headband and scrap piece of ribbon (about 1" wide)
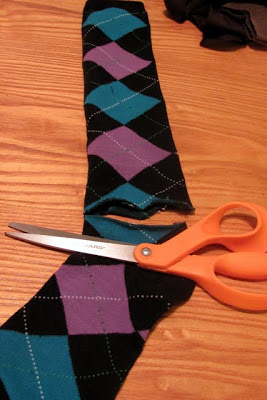
Cut 2.5" wide strip of fabric about 18" in length. I am using a cheap Walmart cotton print. COW PRINT! Cow print makes me happy. (Note: the measurements can be wider or thinner, longer or shorter depending on what you want your rose to look like) I used scissors to start my cut and then I ripped my "cut" by hand the rest of the way. Ripping is a great way to ensure you are on the grain, keep your cut straight, and, if you like the slightly frayed look of my rose, ripping will help you achieve this.
 Fold your fabric in half lengthwise.
 Make a knot at the end of your fabric.
 You will make your rose by wrapping fabric around the knot, twisting it a 1/2 turn ever so often. This will make your rose petal affect. (Get some practice in before you start glueing and figure out how loose or tight you want your rose to look.)
 Now start make your petals and glue as you go.
 To finish your rose, take a little bit of left-over fabric and glue it to underside of rose. Be very generous with your glue.
 Rose is complete. Now to add the leaves...
 Cut out 2 pieces of fabrics, roughly 2.5"x6."
 Fold in half lengthwise and pinch in the middle.
 Keeping your fingers pinching the middle of the fabric, bring the two ends together flat against each other. It should look like this:
 Twist in the middle to get your leaf like so:
 Glue to back of rose and repeat for 2nd leaf.
 Cut out a oval-ish shaped piece of felt and glue to back of rose.
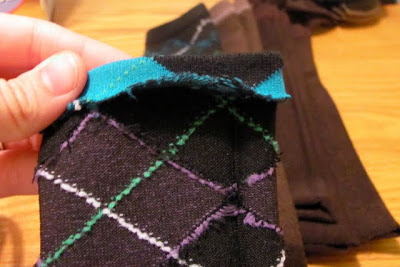
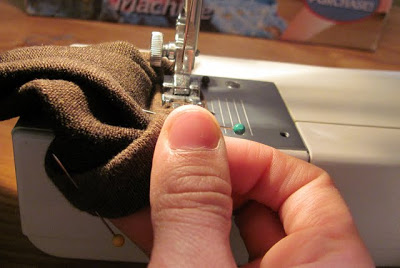
 Because I have trust issues with fabric glue: I made a couple of hidden stitches on the inside of the "petals" through to the back just to make sure this rose would NEVER fall apart. I think in retrospect I was being overly paranoid, so I will say this is "optional" (but definitely worth considering if you loathe unraveled fabric roses no matter how long it lasted prior to unraveling or how slim the possibility is of it actually falling apart. I obviously would loathe this.)
Warm up your hot glue gun. To cover your hair clip with ribbon (this is great for baby fine hair... it stays in place better and is less likely to take their precious hair with it when they pull it out) place ribbon on inside of clip as far as it can go and wrap around to the top side to find our where to put your hot glue. Put hot glue on ribbon and put in place.
 Wrap the remaining piece of ribbon around top end of clip to see where to make your cut. Cut and then hot glue. Repeat for bottom of hair clip.
 Hot glue hair clip to ribbon.
 You could stop here and have a great hair clip.
 Our you can use it on a head band.
To make it a head band: Get a head band. Take piece of ribbon and wrap it around part of head band where you would like your flower clip to go. Wrap ribbon loose enough for hair clip to fit through it. Glue ribbon in place on the back side of head band. Slide hair clip in... Et Voila!
Sorry Addy, I made it; it's mine now. HA! Just kidding. I need to make another for me. I am thinking larger and doing the opposite fabrics for mine. :) Love this project. If you know me, you can probably expect to see fabric flowers attached randomly to something on my person... well maybe occasionally. They don't take much time... but they do take some time... ha!
This project took me LESS than an hour. I have a major irritation with blogs that have these amazingly cool projects that claim to be "nap-time" projects and always turn into nap-time+the rest of my afternoon+bedtime projects. Maybe I am not very talented or fast, but don't sell me an idea promising it will take less than an hour, unless it will for the average not-super-crafty person. Because, seriously, the average person is NOT super crafty. Okay, wow, didn't mean to rant, but apparently I needed to get that one off my chest.
Because not everything is perfect in a crafting world... Notes from this project:
Look forward to my next blog post: DIY Baby Tie. Depending on my ability to pack and clean for our weekend road-trip, it should be forth-coming tomorrow.
I want my kids and Mike and me to all coordinate for our family Christmas pictures, totally a "mom-thing" I suppose. So I picked up some fabric that will pick up on the varying shades of blue, green and gray in all our eyes and decided that I SHALL do something with said fabric! I made a little button down shirt for Jed that I accented with cow print from a pattern I had laying around, but stopped shy of the button holes. Not sure why, but button holes scare me. Also, I made a mistake. I am still contemplating whether or not I want to go back and seam rip and resew or figure out some way to make it work as is. Me and patterns do not play nicely together and I HATE seam-ripping and resewing. I was going to sew up a little dress for Addy in the same fabric, but I am not so good at making the underarm part and seem to need to rip out and resew everytime I made something with arm holes at least once...
Can you tell not everything is perfect in my crafting world?!
Finally, as the picture appointment got closer and the thought of family pictures is beginning to move to the forefront of my brain, the need for simplicity over took me.
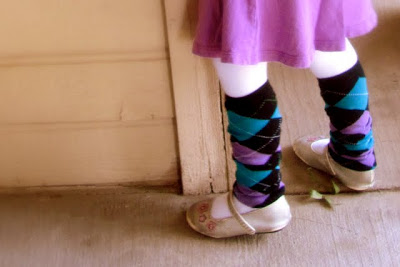
I got the idea to make a hair piece for Addy and a tie for Jed. EASY! FAST! CUTE! SIMPLE! I took my professional pictures of the kids with these accessories and I like the subtle matchy-ness. I am planning on making bigger adult versions for Mike and I for our Christmas card family pictures. This makes me happy.
Fabric Rose Hair Piece:
Need 2 contrasting pieces of fabric (like 2 pieces of 2.5"x6" or so for leaves and contrasting piece of 2.5" by 18+" for rose)
Fabric Glue
Hot Glue
Scrap piece of felt (2" by 2")
Hair Clip
Piece of 3/8 ribbon (about 6")
Optional: Headband and scrap piece of ribbon (about 1" wide)
Cut 2.5" wide strip of fabric about 18" in length. I am using a cheap Walmart cotton print. COW PRINT! Cow print makes me happy. (Note: the measurements can be wider or thinner, longer or shorter depending on what you want your rose to look like) I used scissors to start my cut and then I ripped my "cut" by hand the rest of the way. Ripping is a great way to ensure you are on the grain, keep your cut straight, and, if you like the slightly frayed look of my rose, ripping will help you achieve this.
Warm up your hot glue gun. To cover your hair clip with ribbon (this is great for baby fine hair... it stays in place better and is less likely to take their precious hair with it when they pull it out) place ribbon on inside of clip as far as it can go and wrap around to the top side to find our where to put your hot glue. Put hot glue on ribbon and put in place.
 |
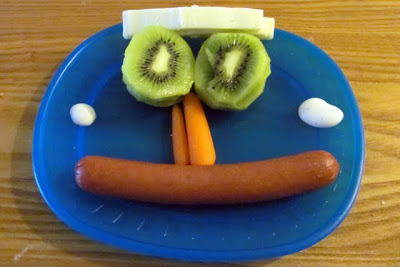
| Friendly Fabric Flowers and Funny Faces make for Fabulous Photos... Boom! Try saying that one 10x's fast! |
This project took me LESS than an hour. I have a major irritation with blogs that have these amazingly cool projects that claim to be "nap-time" projects and always turn into nap-time+the rest of my afternoon+bedtime projects. Maybe I am not very talented or fast, but don't sell me an idea promising it will take less than an hour, unless it will for the average not-super-crafty person. Because, seriously, the average person is NOT super crafty. Okay, wow, didn't mean to rant, but apparently I needed to get that one off my chest.
Because not everything is perfect in a crafting world... Notes from this project:
- If this is your first time making fabric flowers, allot time for playing around with fabric.
- The first time I made a rose, it came undone because either I didn't put enough glue on or I didn't let glue set. Either way, I have been cautious since, and haven't had another incident.
- Only other notation: This project actually was as easy as it looks! Sa-weet!
Look forward to my next blog post: DIY Baby Tie. Depending on my ability to pack and clean for our weekend road-trip, it should be forth-coming tomorrow.