I am a bit of a "foo-foo" coffee drinker. Or maybe a coffee snob. Or maybe I am just picky.
I find instant coffee will not do. Folger's definitely won't. And anything out of the Mr. Coffee, um, pass.
It just doesn't taste good. And I want to start my day out with something that I enjoy.
I found Pioneers Woman's
method of making iced coffee, and it has changed my life.
Truly.
Thank you PW! You have no idea how much some of your posts have changed my life. Berry-buttered, lemon-zested, egg-yolk only and half and half
french toast... all amazing revelations to how good french toast can be (my special occasion brunch go-to recipe) and one on the menu this week:
crash hot potatoes, thanks to my friend Janet's recommendation. I can't wait to try em. Though PW I want to know how it is that your site is so full of drool-worthy deliciousness but you are so slender?! Do you eat your food?!
Okay, enough PW praises, back to the coffee: It's cold. It tastes good. I don't have to own an espresso machine or know how to operate fancy machinery. And most importantly, it's caffeinated.
That really is the most important part!
I found the Pioneer Woman's directions to be a bit overwhelming since I don't own large items that allow me to cook for an army (or a family with teenage boys, so not there yet) and cheesecloth is a huge pain in the rear end. So I made some improvisations to make it work for me and thought I would share because truly this has revolutionized my morning. I look forward to waking up, because it means I get to enjoy my coffee. Bible reading and prayer time you are mine because I
want to wake up early, and this caffeinated beverage wakes me up enough to not mumble through my prayers.
It may sound silly, and I may be alone on this. But this coffee has changed my life.
I love you coffee!
Here's what I do:
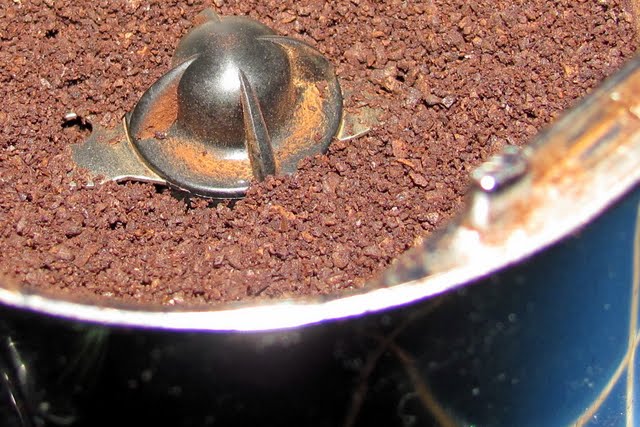
1 cup of ground espresso beans...exact measurement not important. (The espresso is important! And if you are grinding them yourself, do grind them to a fine espresso ground quality.) I've used Cafe Bustello like PW recommends. It's cheap, and it's good. A friend blessed me with some Starbucks espresso beans...their Christmas blend. Thank you friend! That's what I am currently using. (I am going to be honest. I enjoy my Cafe Bustello just as much as my Starbucks ground. The Starbucks tastes slightly better and decidely fresher but not enough to persuade me to spend the extra money. I will say though, that beans are now my thing. I LOVE the smell of fresh ground coffee! Yum!)
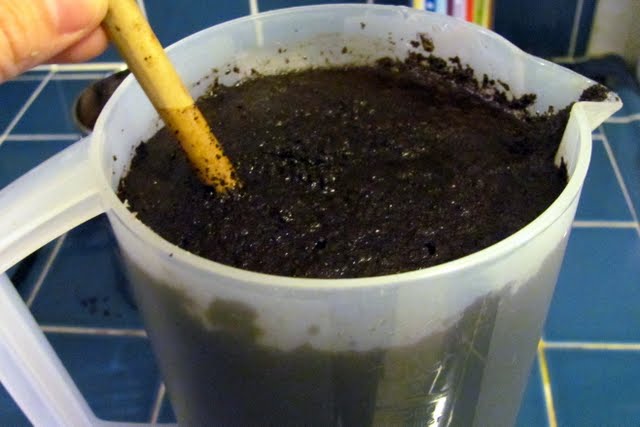
Dump into a half gallon pitcher.
Fill with cold water (just the cold setting on your faucet will do.)
Stir to make all them coffee granules wet.
Set in fridge 8-10 hours (overnight)
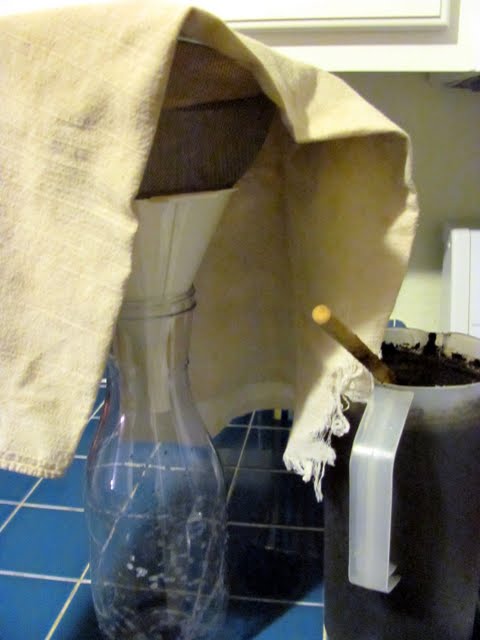
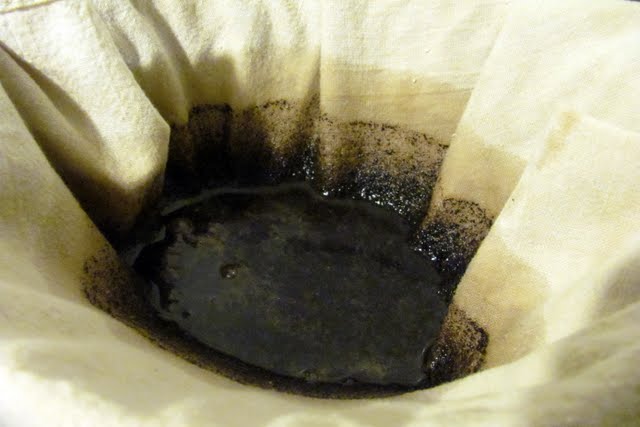
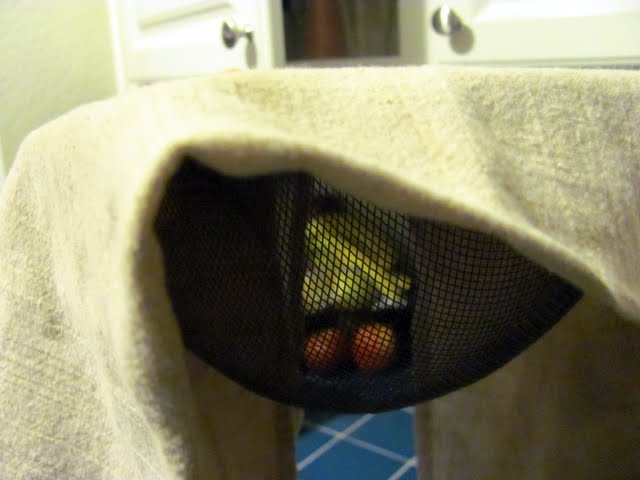
Line a wire mesh strainer with thin, non-fuzzy, flat, cotton dishtowel. I fold mine over so it's doubled. (About the towel: I picked my dish towel up at the dollar store years ago. I love these towels. I never use these kind for dishes or hands. They are great for rolling dough out on or for covering a bowl with rising bread dough in it. They also make a great cheesecloth substitute. Espresso grounds don't sneak through it like I found with the cheesecloth and I don't have to cut anything up or wonder whether its worth the effort to reuse it. I just dump the espresso ground into trash and run water through it and throw it in the dirty towel bin. I launder it with my towels. Easy! But do know that it will stain your towel a lovely coffee-washed tan. And by the way, so you can benefit from my experiences, paper coffee filters take FOREVER for the liquid to get through and catch far too much of the silt that espresso ground leaves behind so you have to constantly change out the paper mid-pour because it stops letting liquid through. Also, the metal reusable filters do not catch enough of the silt so they are also not ideal.)
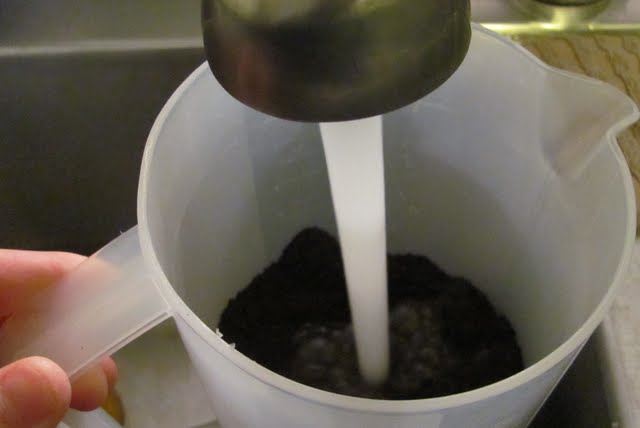
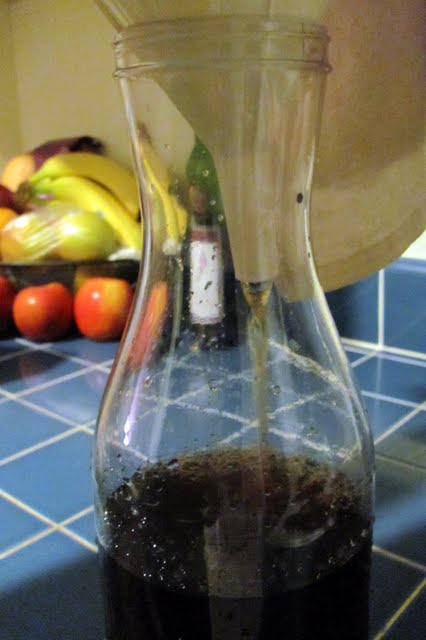
Put a funnel onto your coffee container. (Mine is less than a half gallon... that's okay. I just end up with a little extra left over. I move funnel to my cup and pour directly into my glass. Can't waste the stuff, right?!) Pour the delicious life-empowering liquid into the towel-lined strainer into the container.
Enjoy coffee! See below*
Clean up. (Notice this comes after enjoying the coffee. This is important. Clean up happens much more happily when caffeinated.)
This lasts me 10-14 days. A little bit of work one day for almost 2 weeks of delicious, inexpensive caffeinated beverage enjoyment. Definitely worth it! Also, my budget agrees with me now that I rarely drive thru 5bucks, er, uh, I mean, Starbucks anymore (not knocking the Bucks though. I love me a delicious coffee treat every now and again, I just can't afford it daily.)
 |
|
*To enjoy my coffee... I place a mere 3 ice cubes into a 12 oz. glass. (Only 3 because I want some to keep it cold but I don't want to take up too much space in my glass. That space is precious and must be offered to the coffee liquid! Ha!). I put 3 pumps of chocolate syrup for coffee into my glass. I fill glass just past halfway with coffee. I then fill my glass to the top with milk. I stir and enjoy. (Equal parts coffee to milk ratio.) If you want to be low to no fat, use low fat or skim milk. If you are feeling naughty, use whole milk or half and half. The PW suggests condensed milk as well for the especially naughty.

By the way, about the chocolate for all my fellow die-hard mocha lovers: I buy mine at Smart and Final in the large coffee-shop size. I like it like this because 1. You get a pump. Easy to use. Easy to measure just the right amount every time. 2. It is SOOOO much cheaper. Like 4-6 times cheaper than buying a small bottle at grocery store. Only suggestion: store in the fridge unless you actually run a coffee shop. Mine lasts me about 2-3 months, like 30 times as long as it does at a coffee shop and definitely enough time for it to go bad if left out. (Chocolate syrup can mold... gross, right?!)
Other tasty suggestions: Try a heaping spoonful of brown sugar or raw sugar for my sweet-loving coffee friends. The molasses attached to the sugar granules make this WAY richer, fuller and carmelly tasting than just plain ol' granulated sugar. You could also use a flavored creamer (Not at all how I am able to enjoy this beverage, but, hey, to each their own).
Wishing you many great mornings!
Simplified Instructions:
Need:
1 cup of ground espresso beans.
2 half gallon pitchers
mesh strainer
Flat cotton cloth
funnel
1. Place about one cup of espresso grounds into half gallon pitcher. Fill with cold water to top. Stir to get all the grounds wet.
2. Place in fridge overnight or 8-10 hours.
3. Place funnel over empty half gallon pitcher. Line mesh strainer with cloth. Pour liquid into strainer and into pitcher.
4. Enjoy however you please :)